
How to Repair Scratches in a Wood Floor, Oiled or Lacquered
The finish decides the repair: what works on oil, what works on lacquer, and when to call a professional.

Yes, most scratches in a wood floor can be repaired, and many without sanding. How depends on two things: whether the scratch is only in the finish or has reached the wood, and whether the floor is oiled or lacquered. A light scratch in an oiled floor can be buffed and re-oiled on the spot; on a lacquered floor small marks can be filled or touched up, but widespread wear means recoating the whole room.
Is the scratch in the finish or in the wood?
Two quick tests tell you how serious it is:
- Wipe it with a damp cloth. If the scratch almost disappears while the surface is wet and comes back as it dries, it is only in the finish.
- Run a fingernail across it. If the nail catches, the scratch has gone into the wood and will need filling or sanding, not just a fresh coat.
Is your floor oiled or lacquered?
Lacquer, also called varnish, forms a thin film on top of the wood, usually with a visible sheen; a drop of water sits on it as a bead. Oil soaks into the wood and hardens inside it, so the surface looks and feels closer to raw wood and water darkens it slowly if left. If you are not sure, the floor's maker or installer can tell you, and the care instructions usually say.
How do you repair scratches on an oiled wood floor?
Oiled floors are the easiest to repair, because there is no film to break and new oil blends into the old:
- Clean the area with a soap made for oiled wood and let it dry.
- Rub the scratch lightly along the grain with a fine abrasive pad or fine sandpaper, just enough to smooth the raised fibers.
- Apply a small amount of the floor's own maintenance oil, or one made to match it, with a soft cloth.
- Leave it a few minutes, then wipe off every trace of excess and let it cure before walking on it.
Done carefully, the spot blends in within days. Avoid vinegar and other acidic cleaners, which can mark oak.
How do you repair scratches on a lacquered wood floor?
A scratch in lacquer often looks white or pale, because the clear film is fractured and scatters the light. Patching it is harder than on oil: new lacquer does not melt into the old, so a dab of it on one scratch tends to leave a shiny patch. In practice:
- Light scuffs over a wide area: a maintenance product from the lacquer's maker can refresh the sheen and hide fine marks.
- A few isolated scratches: a hard wax filler or touch-up pen in a matching color fills the mark and keeps dirt out. It hides the scratch rather than repairing the film.
- Worn or scratched all over: a professional abrades the old lacquer lightly and applies a new coat over the whole room, without going down to bare wood.
On a colored lacquered floor, take more care still. Droit, OscarOno Paris's straight oak plank, comes in twelve lacquered colors; sanding down to bare wood takes the color off along with the finish, so any refinishing should start with advice on matching it.

The Beaumarchais 108 project in Paris, laid in Droit, shows the straight plank in a warm, lacquered color.
Oiled vs lacquered floors: repairs compared
| Oiled | Lacquered | |
|---|---|---|
| Where the finish sits | Inside the wood | A film on top |
| How a scratch looks | Darker or neutral, close to the grain | Often white or pale |
| Spot repair | Easy: buff and re-oil | Hard: fill or touch up, or recoat the room |
| Routine care | Regular re-oiling | Less frequent, but recoating is a bigger job |
What about deep scratches and gouges?
When the wood itself is torn, a coat of finish will not hide it. A small gouge can be filled with a hard wax or wood filler in a matching color and then sealed. A badly damaged board can sometimes be cut out and replaced, which is a job for a fitter, especially on a glued-down floor. Where the damage is widespread, the floor is sanded and refinished.
How often a layered floor can be sanded depends on the thickness of its wood top layer, because each full sanding takes off a little of it. Droit has a 4 mm oak top layer; Opus has an 8 mm endgrain oak top layer on 12 mm birch plywood.
Why do scratches show less on end grain?
On a plank, the fibers lie flat and a scratch tears along them. On end grain the fibers stand upright, so a scratch runs across their tips, and the rings and small changes of color from block to block hide fine marks. End grain is also the hardest-wearing face of the wood: Opus is rated usage class 34, for very heavy commercial traffic.
The finish helps too. Opus Smoke is smoked through the full depth of the oak, so the color does not sit only on the surface.
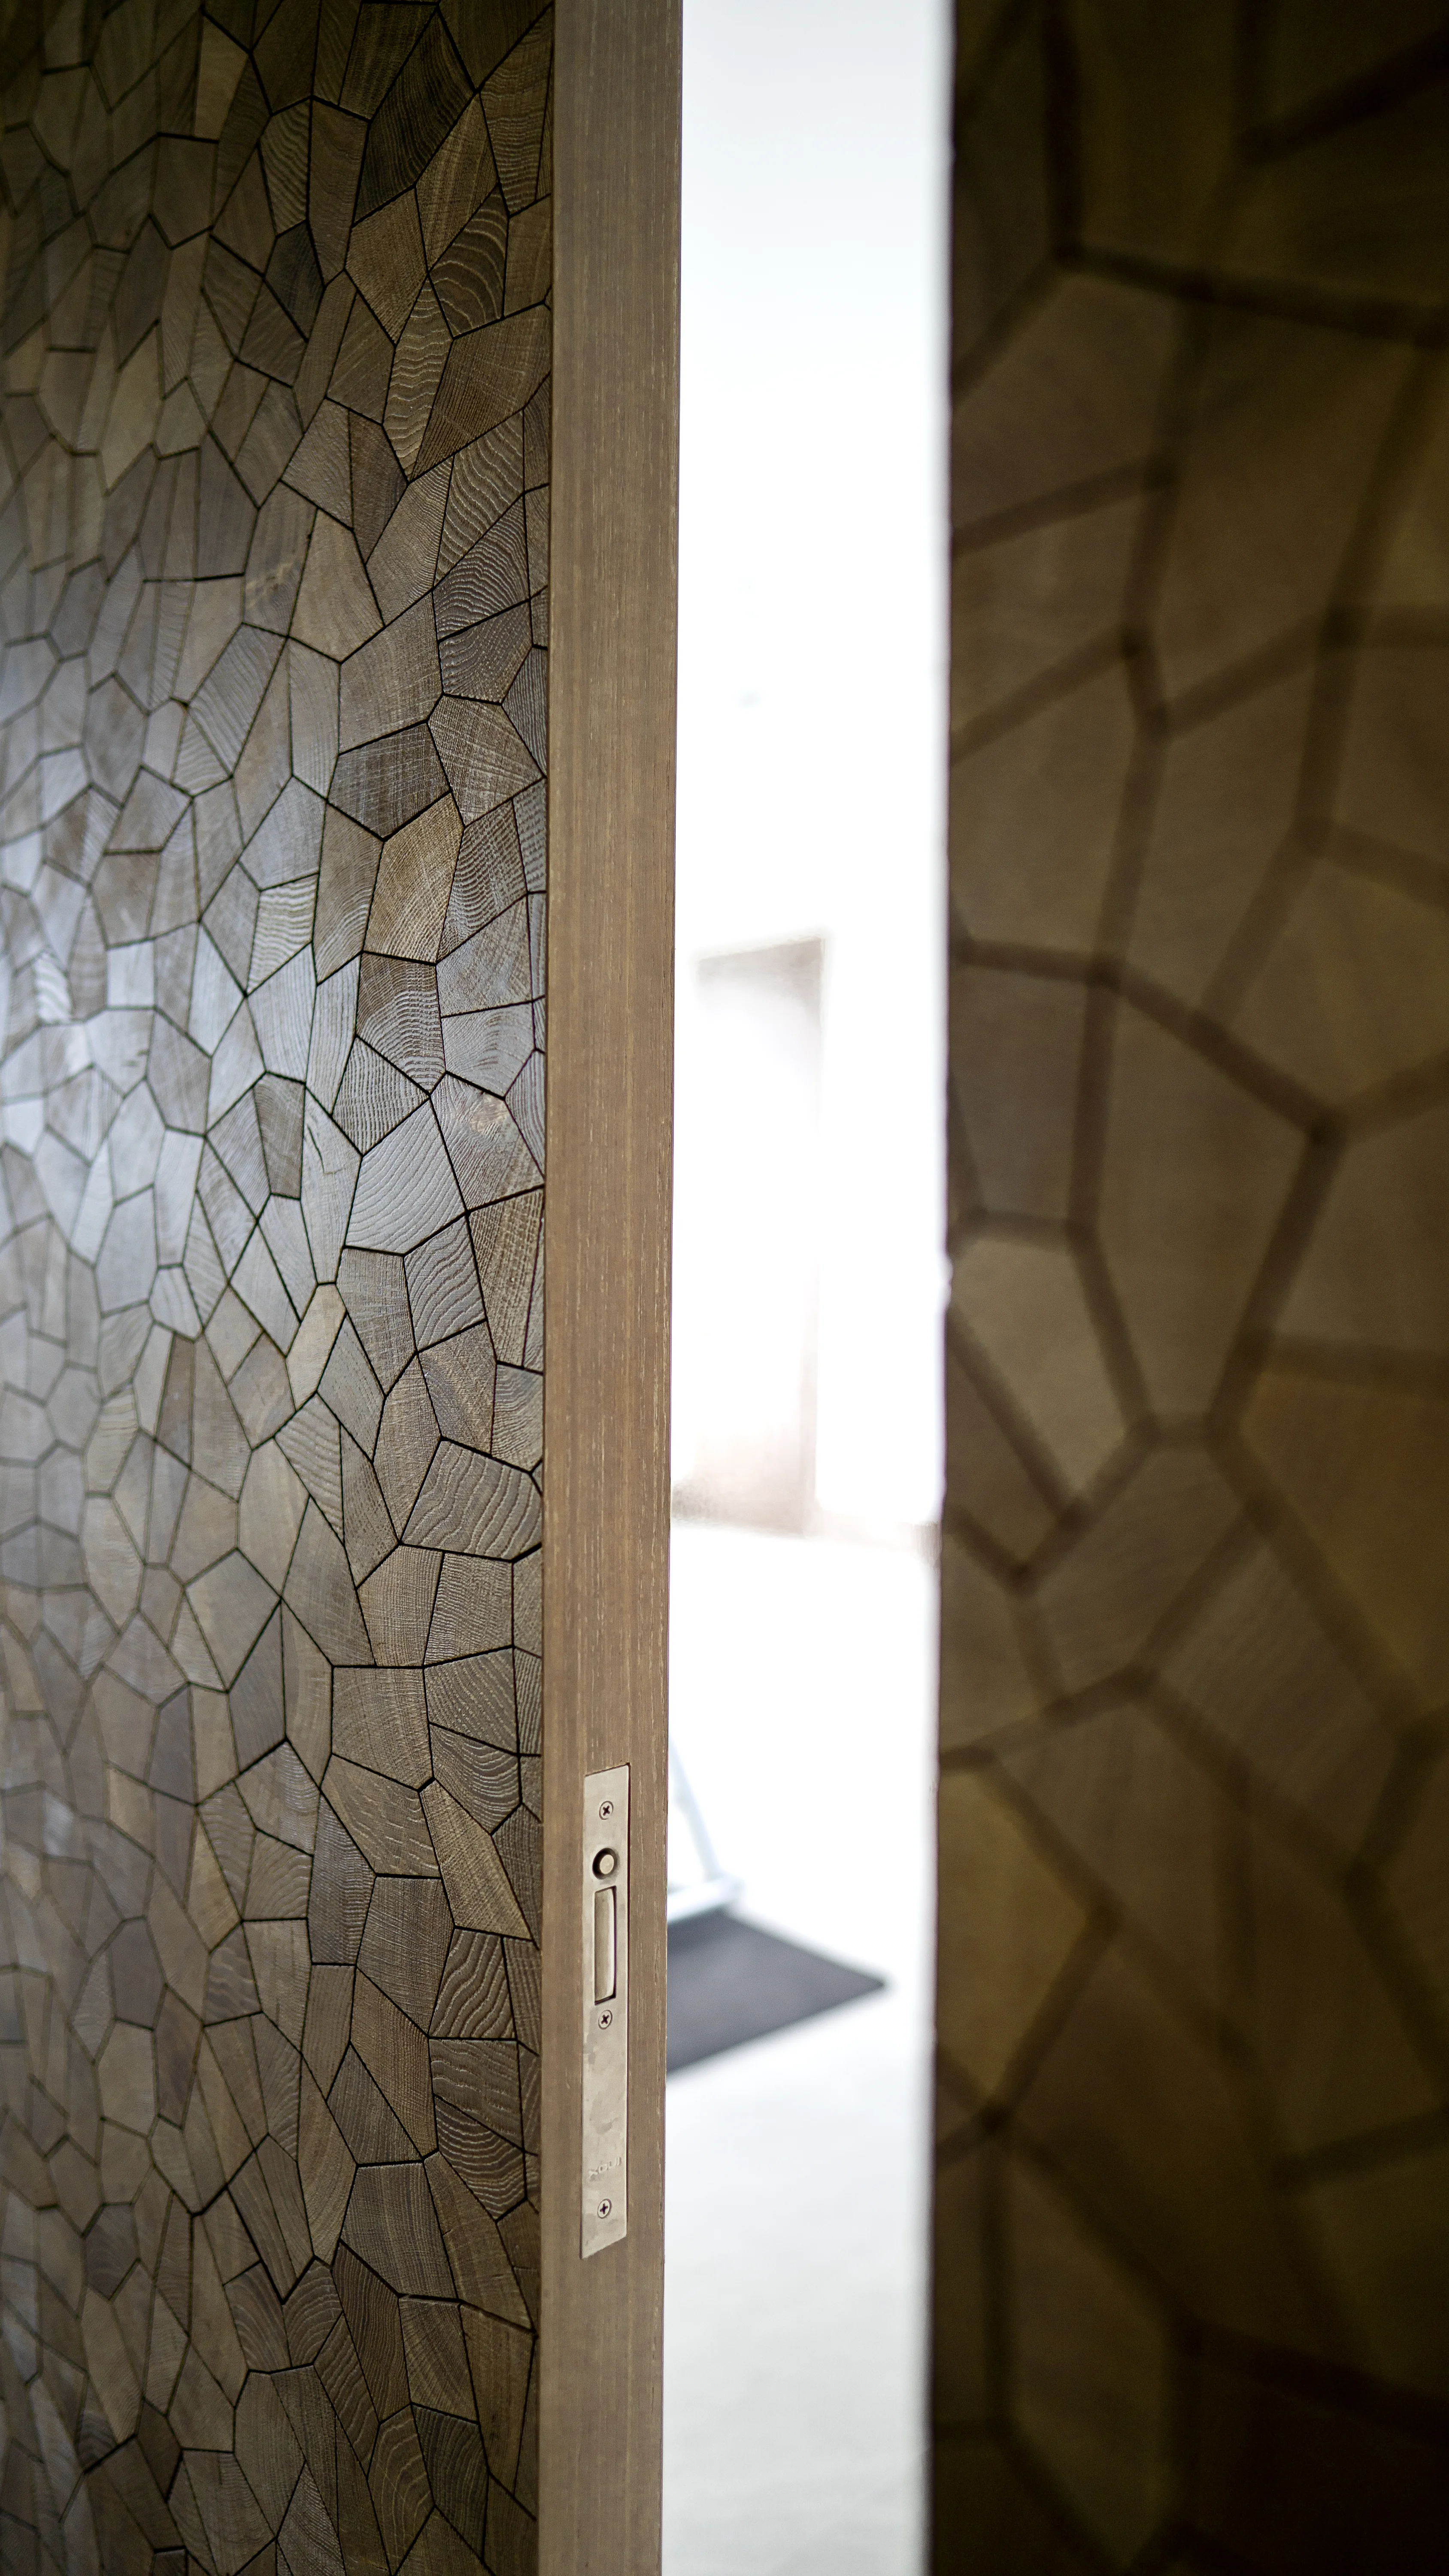
In this private residence in Miami, laid in Opus Smoke, the rings and tone shifts of each block break up the surface.
Do walnuts and other home remedies work?
Rubbing a walnut, olive oil or a colored pencil into a scratch can darken it for a while, but these do not cure. They stay soft, pick up dirt and can stop a proper maintenance product from bonding later. Use products made for the finish on your floor.
How do you prevent scratches?
- Felt pads under every chair and table leg, replaced when they wear or pick up grit.
- A good mat at each entrance: grit carried in on shoes does most of the damage to any floor.
- Regular sweeping or vacuuming with a soft floor head.
- Lift furniture rather than dragging it.
- Keep indoor humidity roughly between 40 and 60 percent, so the wood and its finish stay stable.
For a full routine, see caring for your OscarOno Paris floor.
Frequently asked questions
Can you fix a scratch in a wood floor without sanding?
Usually, if the scratch is only in the finish. On an oiled floor, buff it lightly and re-oil the spot. On a lacquered floor, use a maintenance product, a wax filler or a touch-up pen. Sanding is only needed when the wood itself is damaged or the whole floor is worn.
Why do scratches on lacquered floors look white?
Lacquer is a clear film on top of the wood. A scratch fractures that film, and the broken surface scatters light, so the mark looks pale or white against the wood beneath.
Does rubbing a walnut fix wood floor scratches?
Only for a while. Walnut oil can darken a light scratch, but it does not cure, stays soft, picks up dirt and can stop a proper maintenance product from bonding later.
How many times can a wood floor be sanded?
It depends on the thickness of the wood above the tongue and groove, since each full sanding removes a little of it. Solid boards and layered floors with a thick top layer can be sanded more often than thin ones; check the top layer thickness on the spec sheet.
How do you prevent scratches on a wood floor?
Felt pads under furniture, mats at the entrances, regular sweeping to remove grit, lifting rather than dragging furniture, and indoor humidity kept roughly between 40 and 60 percent.
Hard-wearing floors by OscarOno Paris
Droit is flatgrain select oak, 12 mm with a 4 mm top layer, in twelve lacquered colors, rated usage class 33 for heavy commercial traffic. Opus is endgrain oak, an 8 mm top layer on 12 mm birch plywood, in Natural, Smoke or Black, rated usage class 34 for very heavy commercial traffic. Both carry a Cfl-s1 fire rating and are FSC and PEFC certified. To see how each finish wears in your own space, order samples; spec sheets, CAD and 3D files are in the library.
More from the Atelier
Protecting End Grain Wood Block Flooring from UV Fading
Discover the science of oak photodegradation and how to protect end-grain wood floors from UV fading using advanced varnishes and architectural design.

Parquet Floor Restoration: Is an Old Parquet Floor Worth Saving?
Loose blocks, gaps, stains and a worn finish can all be put right. How to tell whether an old parquet floor is worth restoring, what the work involves, and when it is not.

Squeaky Wood Floors: Why They Squeak and How to Fix Them
A squeak is friction: wood on wood, wood on a nail, or a subfloor moving on its joists. Find which one it is and the fix follows.